
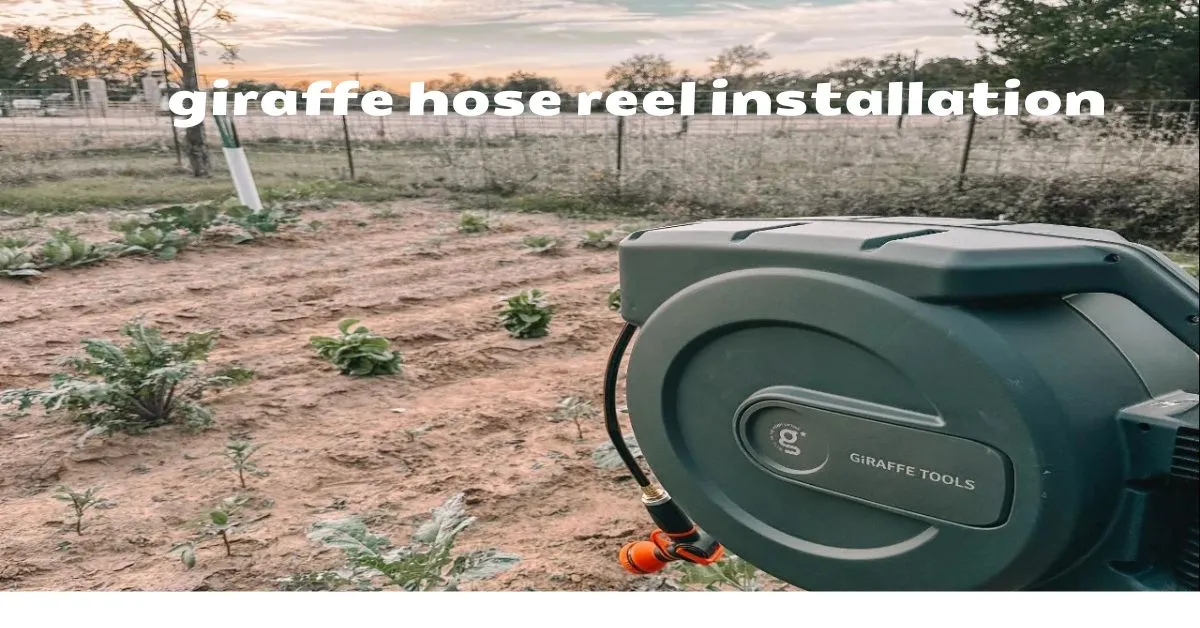
Giraffe Hose Reel Installation – Make Your Garden Effortless and Tidy
Introduction
If you’re someone who’s ever wrestled with a tangled garden hose, kinks, and that dreaded moment when the hose won’t retract properly—I’ve been there. Installing a high-quality system like the Giraffe Tools retractable garden hose reel can turn that chore into something almost fun. In this guide, I’ll walk you through a detailed, practical, human-friendly explanation of how to get one of these hose reels mounted and working in your yard—from choosing the right location, prepping the mount, doing the installation step-by-step, to tips for maintenance and long-term reliability. Let’s roll!
Why Choose a Retractable Hose Reel from Giraffe Tools?
What makes this setup worth it
When you move from a basic hose and wall hook to a retractable reel, you gain a few big advantages:
- Auto-retraction = no more dragging the hose back manually and dealing with kinks or uneven winding.
- Cleaner look & less clutter, which improves your outdoor space aesthetics and safety (no tripping over hoses).
- Better longevity: decent reels protect the hose from sun, weather and reduce wear, so fewer replacements.
- Versatility: With a good brand like Giraffe Tools, the system supports long hose lengths (e.g., 100 ft) and major garden coverage areas.
So if you care about making your watering routine smoother, this is a tool worth investing time in. The best part: once set up, it’s mostly low-maintenance.
Pre-Installation: What to Think About
Location, hose length & access
Before you drill any holes, consider:
- Where is your water source? You’ll want the reel near a faucet or spigot so the leader hose (the short hose from reel to faucet) doesn’t have to stretch too far.
- Coverage area of the hose: If you have a wide garden or multiple zones (flower beds, lawn, vegetable garden), you’ll want a hose length that reaches all areas without strain.
- Mount surface: The bracket must be mounted on a solid surface (wall, post) capable of handling weight and tugging.
- Mount height: It’s more user-friendly if the reel is at a comfortable height, around 31 in above ground for auto-retract functionality.
- Weather & exposure: Consider shade vs sun, and freezing risk if your region gets cold (water left in hoses can freeze and damage mechanisms).
Tools & materials you’ll need
- Electric drill with appropriate bits (masonry or wood, depending on wall or post)
- Screws/anchors (often included with the bracket)
- Level and pencil/marker for drilling template
- Possibly a wooden post if you don’t want to drill into the house wall
- Leader hose & nozzles (often included)
- Silicone or thread sealant for plumbing connections (optional but good)
Step-by-Step Installation
Mounting the bracket & securing the reel
- Choose mount point: Based on the earlier considerations, pick your ideal wall or post. Ensure it’s within reach of the faucet and covers your watering area.
- Use template: Many Giraffe Tools reel manuals include an “installation template” to mark the four holes for the bracket.
- Drill holes: For a wall, use the anchor size recommended (e.g., a 5/16″ or 7/16″ for certain units) and drill to required depth. On posts, you may screw directly without anchors.
- Attach bracket: Fix the bracket securely with screws/anchors. Use a level to ensure it’s straight.
- Mount the hose reel: Lift the reel, slide it into the bracket holes, and secure any small locking screw if required.
- Connect the leader hose: Attach the short leader hose from the reel’s swivel connection to your faucet/spigot. Use thread sealant or Teflon tape to prevent leaks.
- Attach the nozzle: Most kits include a multi-mode nozzle—attach it to the hose end, test it.
- Turn on water & test: Check for leaks at connections, verify the hose extends and retracts smoothly.
Fine-tuning & usage tips
- When pulling out the hose, stop once you reach your required length; the locking mechanism should engage.
- When retracting, walk backwards at a steady pace so the hose winds evenly—don’t let it whip back too fast (could damage internal spring).
- Avoid pulling the hose past the “STOP” mark near the maximum extension; exceeding this may damage the mechanism.
- After each use: turn off faucet, release pressure (by squeezing nozzle trigger), retract hose fully. This prevents damage and improves longevity.
Comparison: Wall-Mounted vs Post Installation
Wall-mounted pros & cons
Pros:
- Saves space, integrates with exterior wall of house or shed
- Usually easier to hide plumbing or route hose in a clean manner
Cons: - Requires stable wall surface (brick, concrete, solid siding)
- Drilling into house wall may be less desirable for some homeowners
Post installation pros & cons
Pros:
- Flexible placement (you can situate the reel where it best serves your yard)
- Avoids drilling into your home’s exterior
Cons: - Requires a robust post set into ground (or anchored)
- Slightly more visible and may require extra materials
Maintenance to Keep It Working Smoothly
Regular checks & best practices
- Seasonal inspection: Especially if you live in a freezing climate, check that water is drained and the reel is protected from winter frost.
- Clean the housing: Wipe down the reel casing to remove dust or grit that could get inside the retraction mechanism.
- Check for leaks: Inspect the leader hose and connections periodically; tighten as needed or replace worn O-rings.
- Test retraction: If hose fails to retract fully or locks up, stop using and troubleshoot (look for tangled hose inside, jammed spring, etc.).
- Avoid over-pulling: Respect the maximum extension limit and don’t yank the hose—violent pulling can damage internal springs and shorten the product life.
- Protect from UV/sun damage: If the reel is in direct sunlight, consider a shade or mount a cover so the plastic housing isn’t exposed to extreme heat all day.
Real-Life Scenario and Tips
Here’s a short anecdote: I recently helped a neighbor install their reel. They had a big lawn with flower beds on both sides of the house and were frustrated by dragging a 50-foot hose across the grass. We chose a spot on a sturdy wooden post near the center of the yard, drilled and mounted the bracket, and within 2 hours the reel was up and working. They pulled 70 ft of hose easily, reached both sides of the garden, and retraction worked smoothly. A month later, they thanked me because there were no more hose tangles, no more trips over the hose, and watering was just a few seconds prep instead of a chore. That’s the kind of difference a good installation makes.
Tip: If your hose path crosses driveways or walkways, route the hose so it won’t be in the way. You may also consider a hose lay-flat cover or edge weed barrier so the hose doesn’t drag over rough stones.
Final Thoughts:
Installing a retractable hose reel such as the Giraffe Tools model is one of those upgrades that once done, you’ll wonder why you didn’t do it sooner. From easier watering, fewer tangles, cleaner appearance, to smoother daily use—you’re simplifying a chore that so many of us drag out. The key is proper prep (right location, correct mount, correct hose length), following the installation steps carefully, and maintaining the system so it lasts. With the tips above, you’re all set to “done and done” your outdoor watering setup.
You’ve got this — happy installing, and enjoy the extra time you’ll save (and the extra peace of mind) every time you wheel that hose out and let it retract smoothly
FAQs
Frequently Asked Questions
Q1: Can I install the reel on a brick or concrete wall?
Yes — just ensure you use the correct masonry anchors and drill the appropriate hole size and depth.
Q2: What length of hose should I choose?
It depends on your yard size and watering needs. If you have a large garden or multiple zones, go for a longer capacity reel (e.g., 100 ft or more) so you don’t stretch or strain the hose.
Q3: Will the reel work in winter/colder climates?
It can, but you need to be cautious: don’t leave water inside the hose or reel in freezing temps, mount the reel in a location that minimizes ice damage, and consider draining it or covering it when not in use.
Q4: What happens if the hose won’t retract fully?
Common causes: hose kinked inside, mounting height too low so hose rubs on the opening, leader hose leak, or internal spring broken.
Q5: Do I need professional help to install it?
Not necessarily. If you have basic tools and a suitable wall/post, you can do it yourself. The user-friendly design of the Giraffe Tools series and their installation manual make it accessible for DIYers.